How to Replace a Downspout Joint
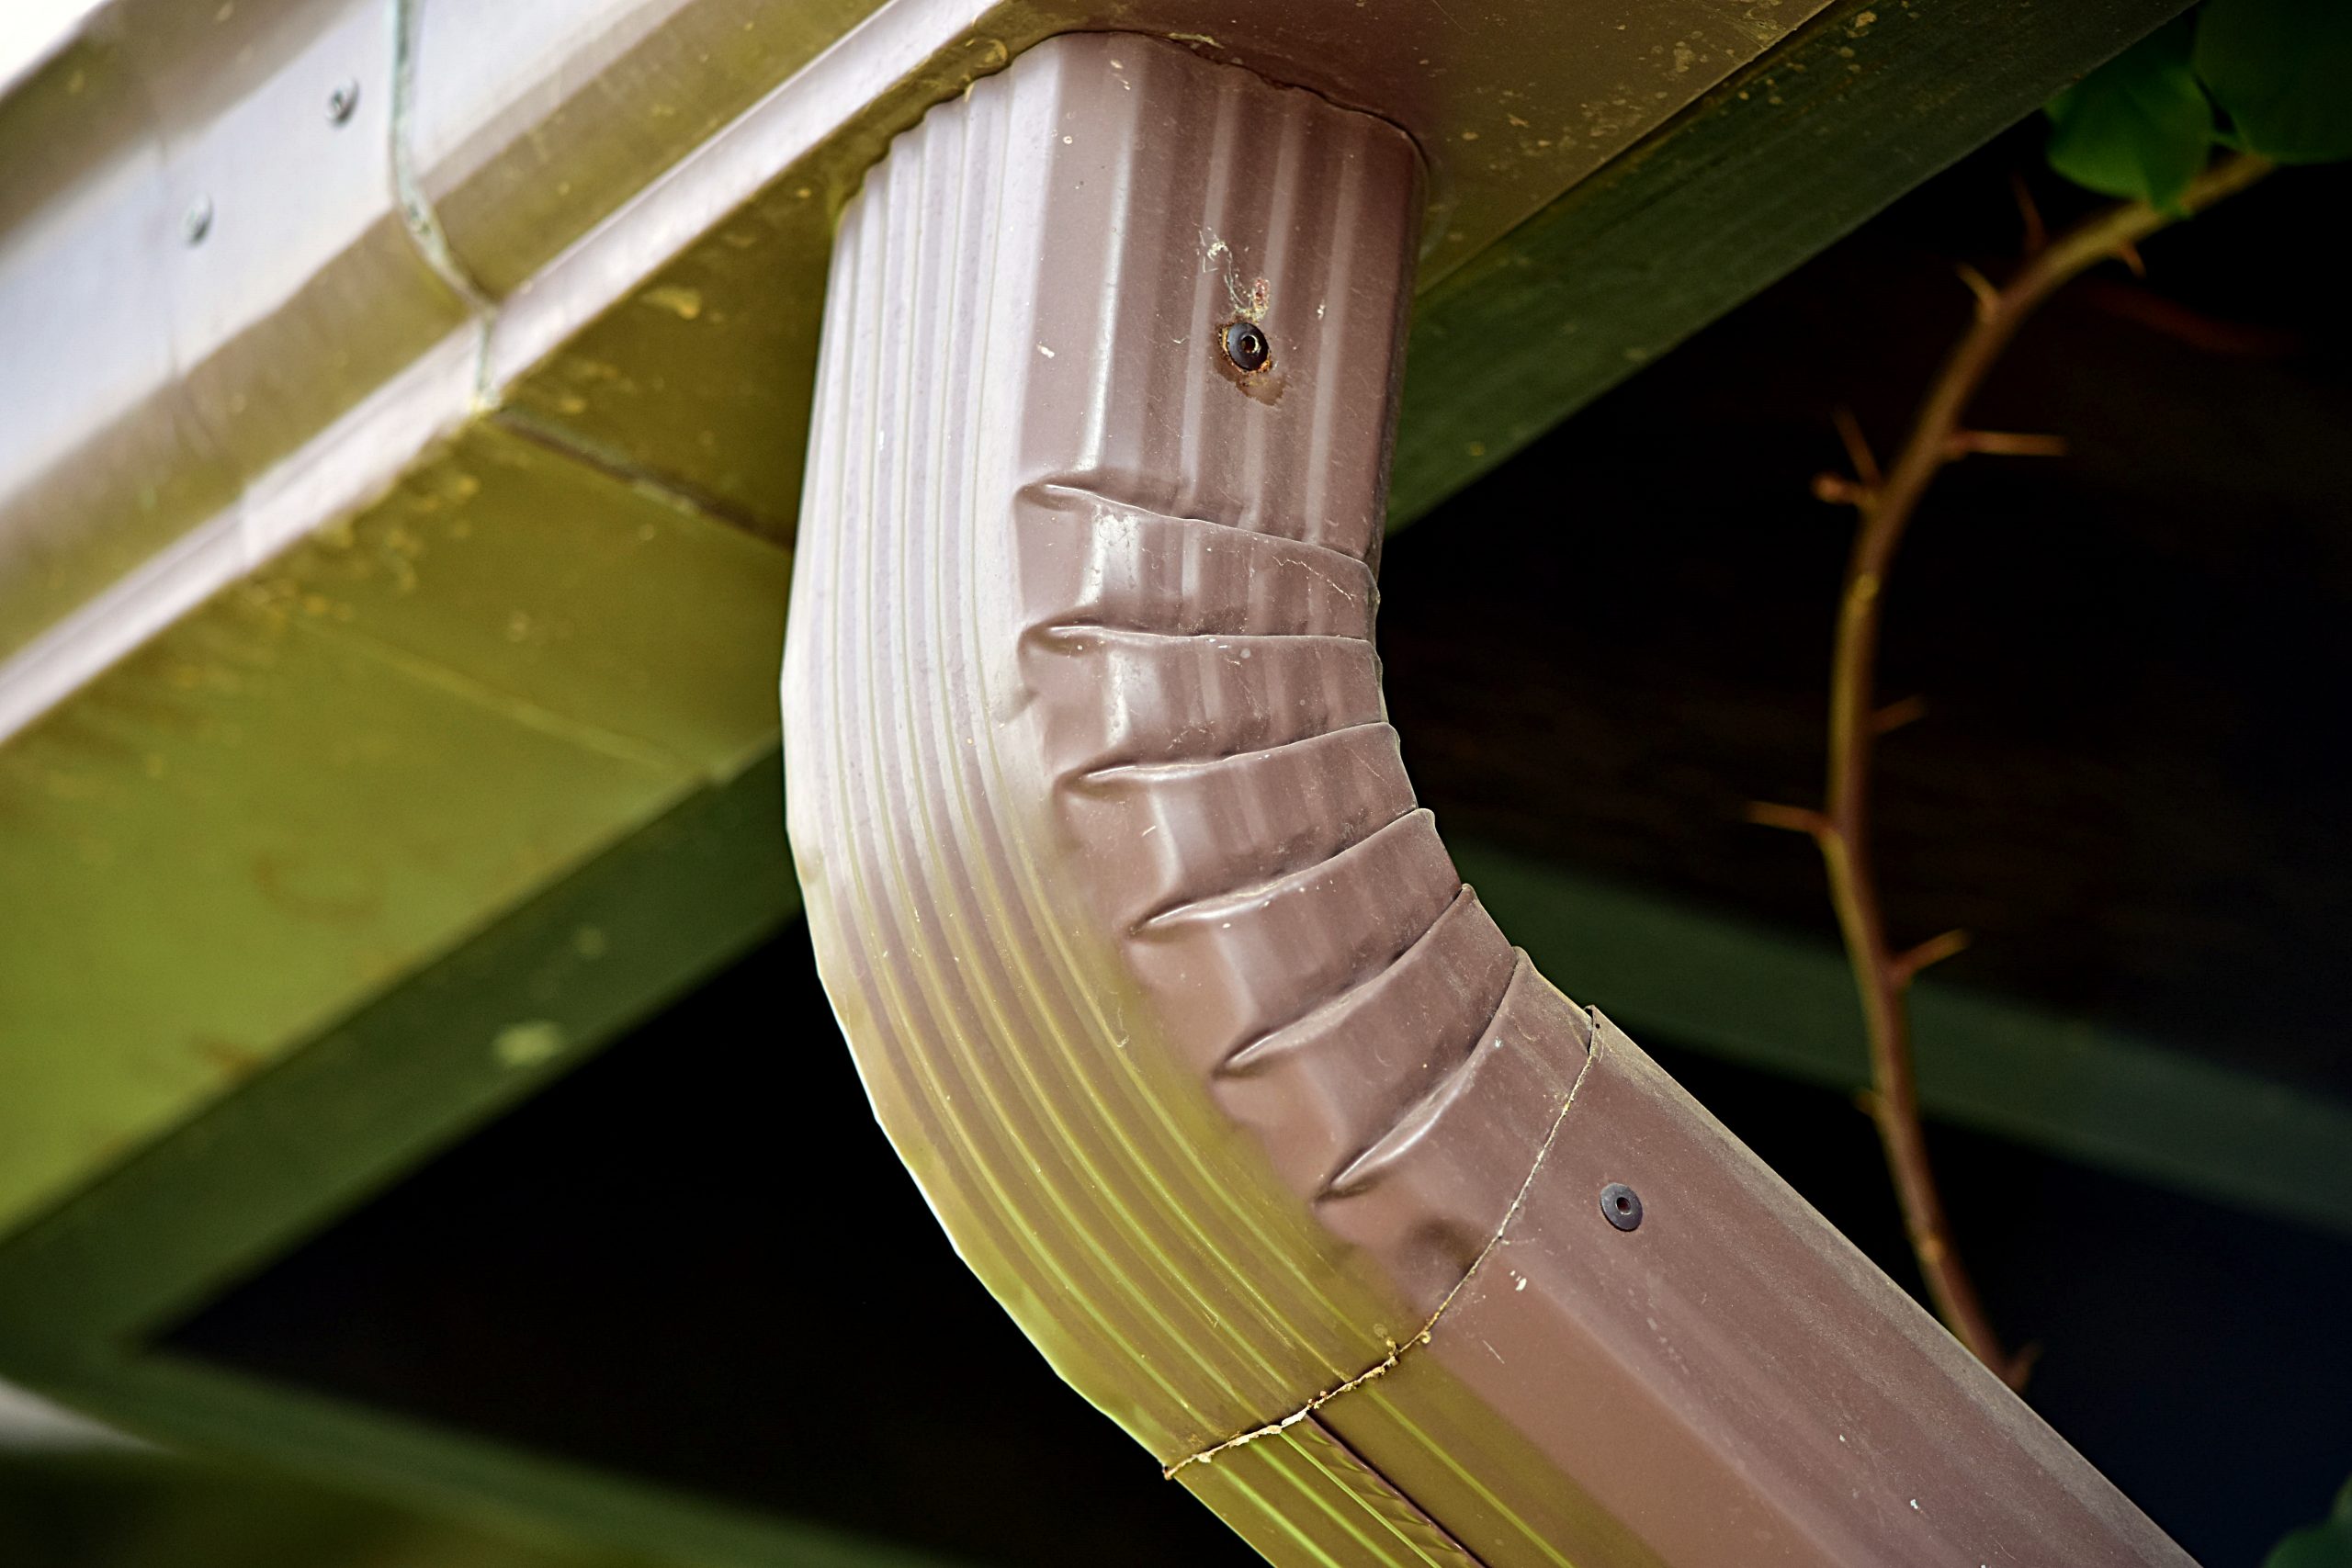
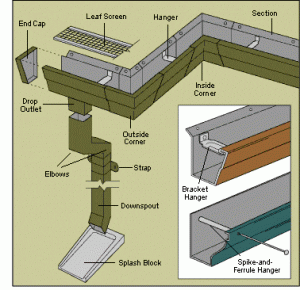
If you have Googled “How to replace a downspout joint”, you came to the right place. Downspouts for rain are designed to direct water away from your home. If you notice rust or leaks in your rain downspout, it’s time for a replacement. Replacing it involves disassembling the old one, starting with an inspection of all connection points. The primary spout typically connects at elbows, and longer downspouts may have a connection in the middle. To prevent damage to your gutter or house, it’s advisable to remove the downspout in sections.
Here’s a step-by-step guide:
Step 1:
Using an appropriate-sized steel cutting drill bit, drill out the rivets that connect the bottom elbow to the downspout. Drill through the center indentation on each rivet head. There are usually rivets on each side and the front of the downspout. Pull the lower elbow away from the downspout.
Step 2:
Remove the screws securing the lower downspout strap with a Phillips screwdriver. The strap is a thin metal piece around the downspout, connecting to the house wall. Most straps attach to the wall with screws driven into plastic sleeves. Take off the strap.
Step 3:
Place a stepladder by the downspout, identifying any connection points between the downspout and the upper elbow. Drill out rivets at these points, and pull the lower half of the downspout away from the upper half. Remove the upper downspout holding strap, as done with the lower strap.
Step 4:
Disconnect the downspout from the upper elbow by drilling out securing rivets. Pull the rain downspout away from the upper elbow. Drill out rivets connecting the upper elbow to the connector on the bottom of the gutter. Pull the elbow away from the connector.
Step 5:
Remove sheet metal screws securing the connector to the gutter with a Phillips screwdriver. Insert a putty knife into the seam between the connector and the gutter, working through the caulking. Pry the connector out of the gutter with the putty knife.
Certifications
Alliance Roofing is a Denver, Colorado-certified roofing contractor. We have been in business for over 20 years and have attended numerous industry and partner company training programs to advance our education on the latest techniques and products to use. We believe you need a strong certified contractor in the Colorado region to ensure your job is done right. Colorado’s environment provides numerous challenges for roofing contractors. From hail storms, tornadoes, high winds, snow storms, etc. — we feel you need a local contractor who knows how to do it right.
All too often we see contractors from other states coming in to chase hail storms. They don’t know our local environmental conditions and many of the special needs roofing contractors need to be aware of in Colorado. If you want it done right — then hire a local Colorado-certified Contractor.